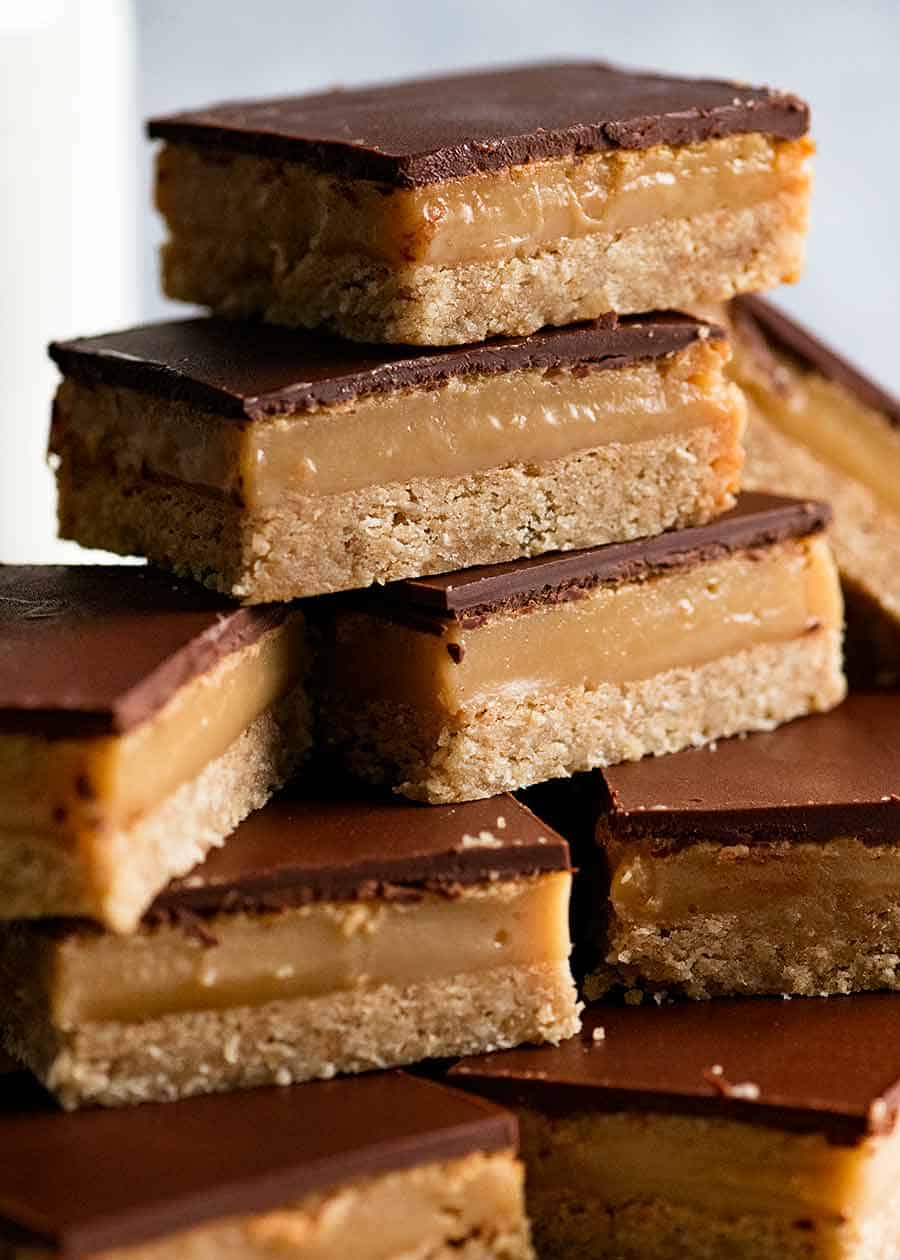
This is a Caramel Slice that works as promised – the caramel sets perfectly and will never be runny, the chocolate won’t crack when cutting it and the caramel won’t ooze out. It’s an easy recipe with no thermometer required.
Essentially, this recipe fixes all the grievances I had with other recipes I’ve tried over my lifetime!

Caramel Slice
It’s practically un-Australian for a bakery to NOT sell Caramel Slice. With a simple coconut biscuit base, soft caramel filling and a chocolate topping, it’s one of those treats that’s craved by kids and grown ups.
I’ve only ever known it as a Caramel Slice, but I was quite interested to learn that overseas, it’s also known as Millionaire’s Shortbread (appropriate!), Caramel Shortbread, Chocolate Caramel Bars.
Doesn’t really matter what you call these. Just the sight of them surely brings a smile to anyone’s face, and that, my friends, is a universal language.  (“That” being a Food Smile)
Reader Rachel says “Wow! This was really fantastic. I’ve been hunting for a caramel slice that cuts well, doesn’t ooze or crack and had enough filling. This is perfect! So tasty, I love how crunchy the base gets and my mum adores it! I only made it last night, but I don’t think it will last long!”

A Caramel Slice recipe that actually works
I’ve tried countless recipes over the years including from some well known cooks, and classic “best ever” recipes but always experienced problems such as:
- Runny caramel
- Chocolate topping cracked when it was cut
I think some recipes make Caramel Slice overly complicated, trying to make the caramel using a traditional candy making method which calls for a thermometer and exact caramel temperatures.
Scratch that. Make Caramel Slice the easy way using condensed milk. Tastes just like you get from the bakeries!
What goes in Caramel Slice
Here’s what you need to make Caramel Slice:
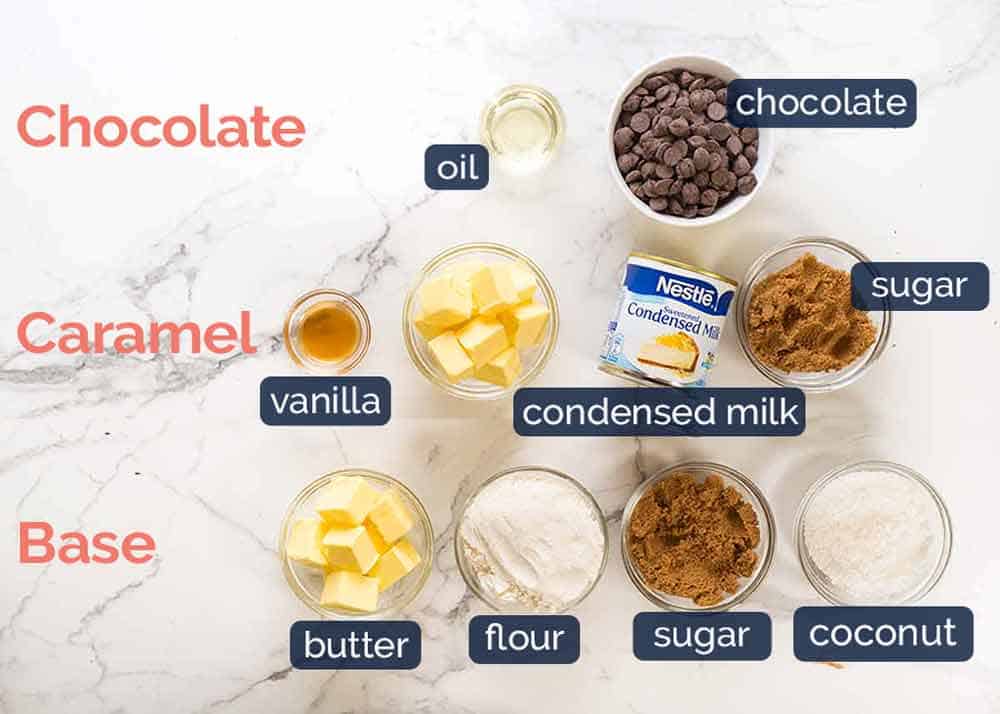
- Base – a coconut biscuit base, not too sweet (because the caramel filling is plenty sweet!)
- Caramel filling – the secret ingredient here is condensed milk. So we make a caramel using sugar and butter, then we add condensed milk which thickens it and makes the caramel set;
- Chocolate topping – the secret to making sure the chocolate doesn’t crack when cut is a touch of oil!
How to make Caramel Slice
There are 3 components to Caramel Slice:
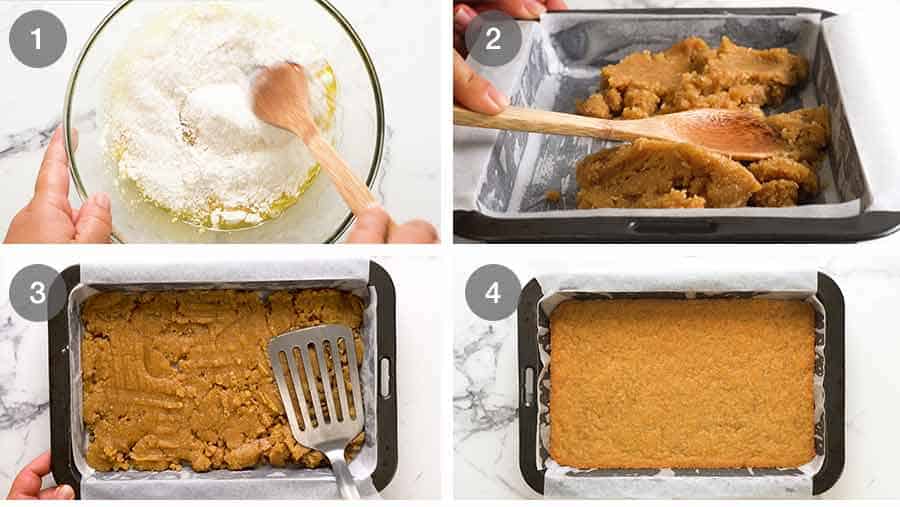
1. Biscuit base – just mix the ingredients together in a bowl, press into a pan and bake:
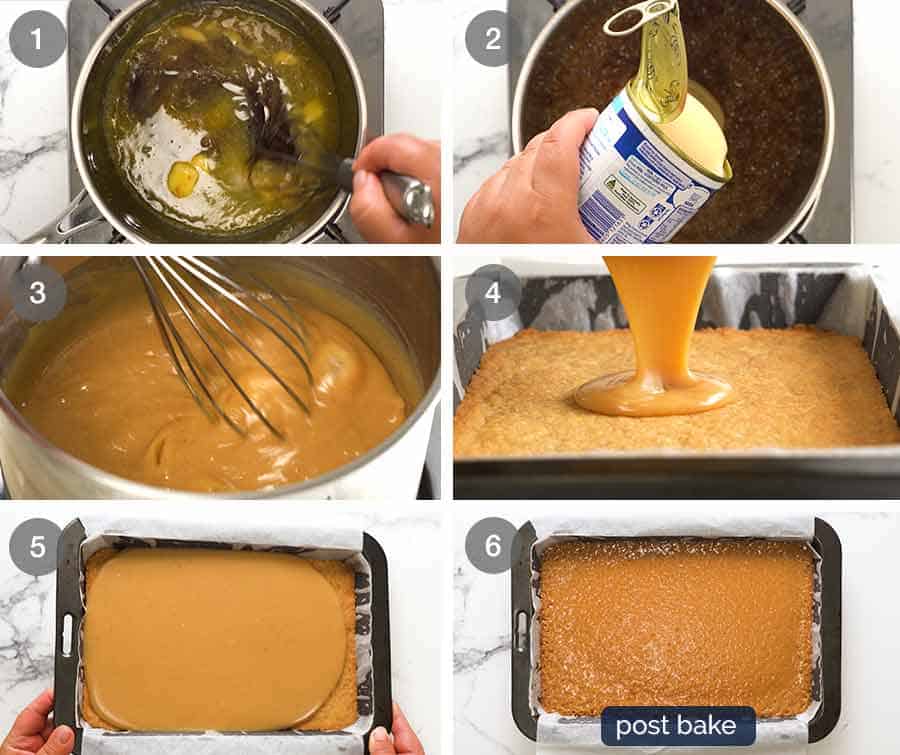
2. Caramel Filling – bring the butter and brown sugar to a simmer (this is caramel!) then stir in condensed milk. Whisk over low heat for a few minutes to give it some colour, then pour onto the base and bake. Baking is what makes the caramel set once cool.
3. Chocolate Topping – simply melt the topping then spread on the caramel base. To achieve a perfectly smooth surface, just shake the pan gently.

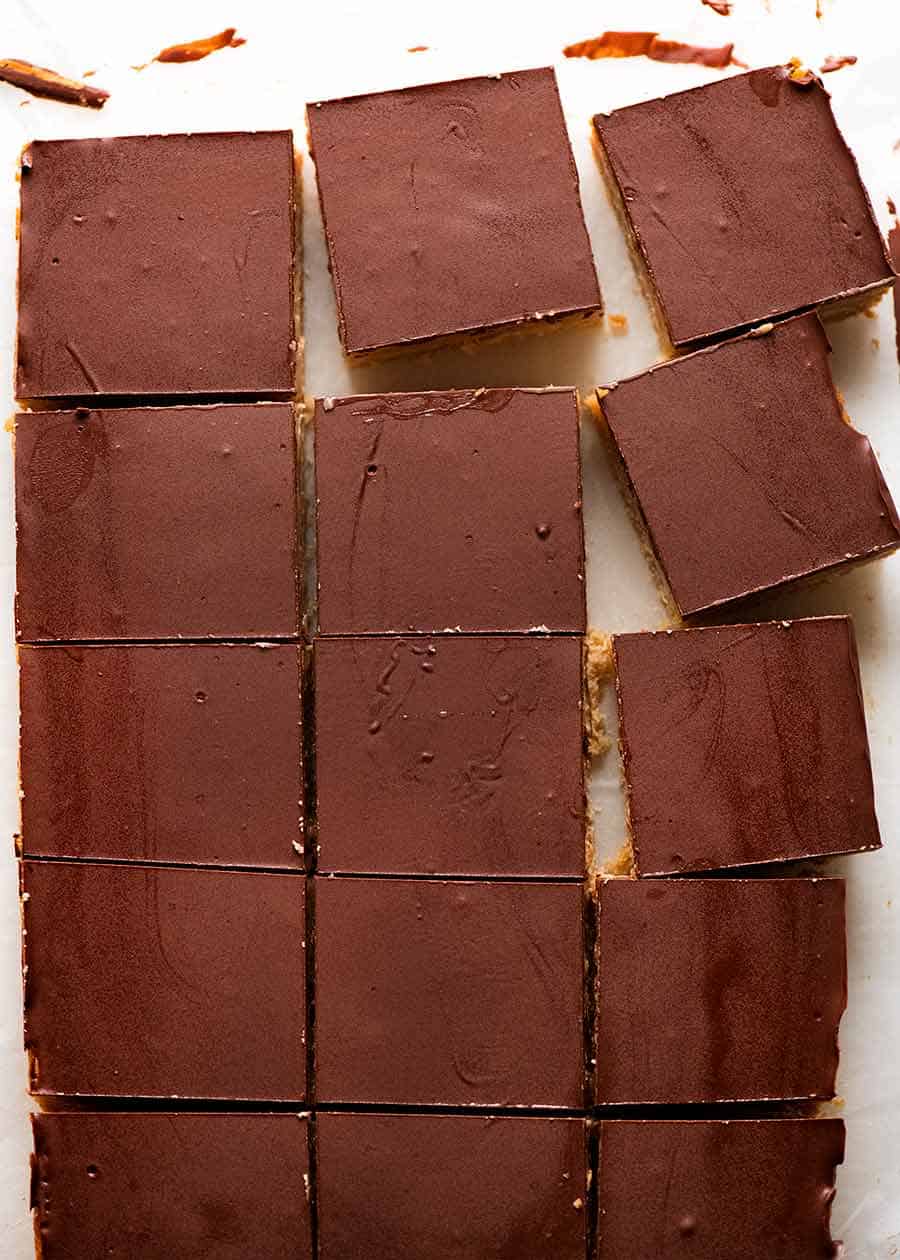
And proof – the chocolate DOES NOT CRACK when you cut into it!!!
These were fridge cold too – you can see the surface is sweating on this hot summer day I made them!
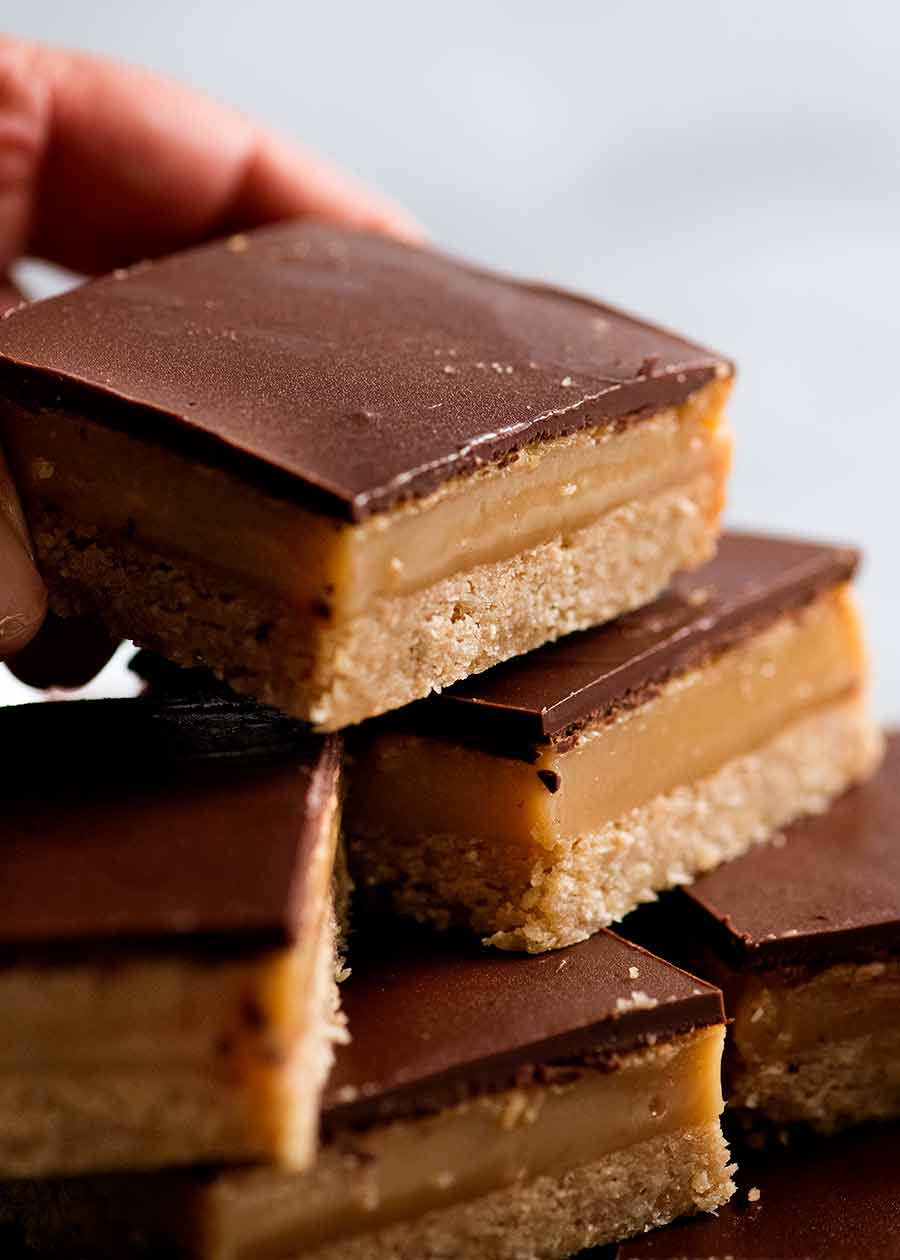
And a side view so you can see how it slices neatly, showing each individual layer:
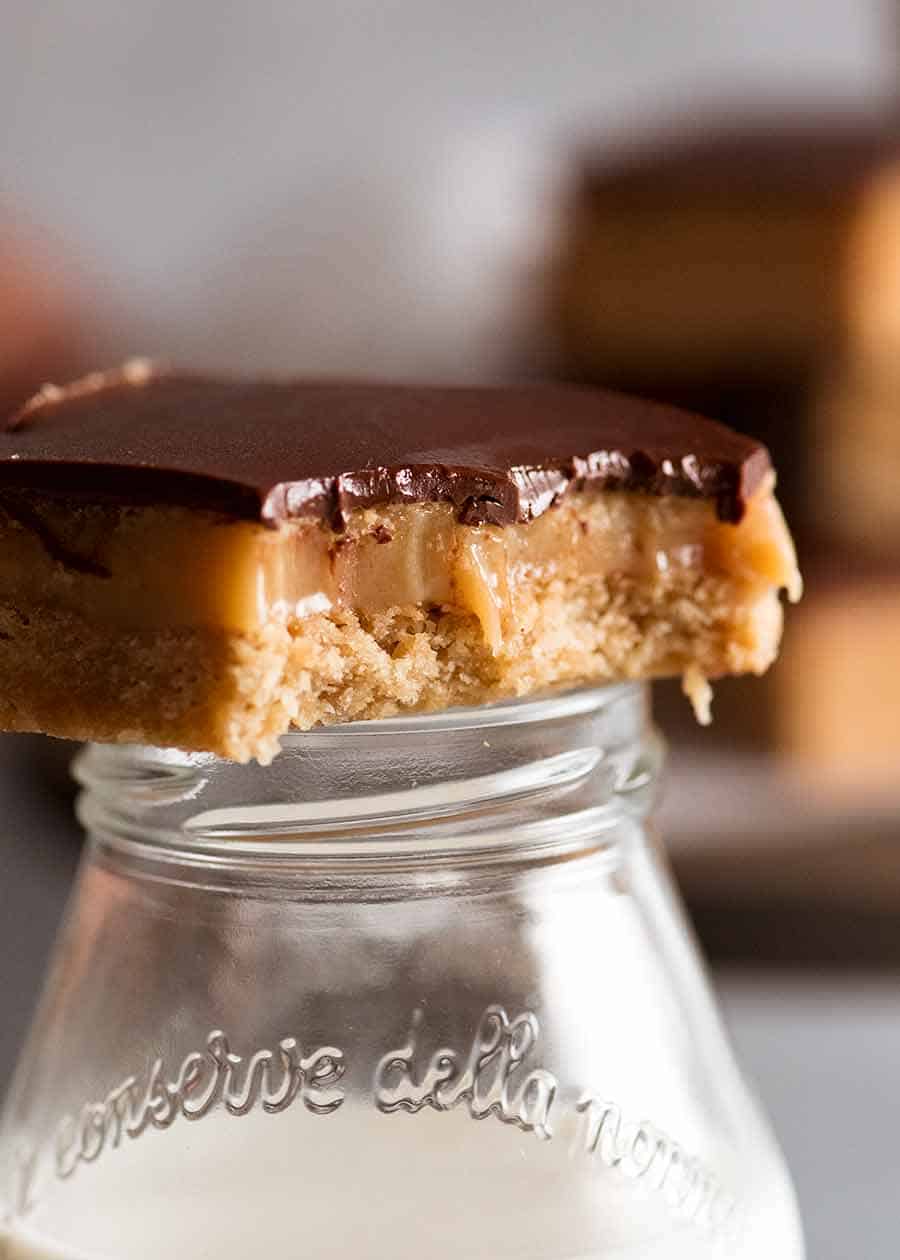
Normally I try to show a bit of self respect with up close “bite shots” and use a fork…. But I’m not going to lie to you – in this case I just took a big fat bite out of this Caramel Slice!!!
Caramel Slice – Q&A
Here’s a little Q&A section for common questions and problems people face making Caramel Slice!
Why is my caramel slice runny?
Common problems that causes runny caramel include: using low fat condensed milk (ie. skim condensed milk) instead of full fat milk (it will not set properly), you didn’t bake the caramel layer (this makes sure it sets) or you used a recipe where the caramel filling is made without condensed milk (in which case you need a candy thermometer to achieve an exact temperature to ensure it sets).
How do you keep chocolate from cracking when cutting?
Add 1 tablespoon of oil to the melted chocolate – this makes the chocolate topping slightly softer so it doesn’t crack!
How long does caramel slice last?
5 days in an airtight container – in the fridge if it’s warm weather, otherwise in the pantry is fine.
That’s the proper answer.
But does Caramel Slice ever last FIVE WHOLE DAYS in anyone’s house??? 

 – Nagi x
Watch how to make it
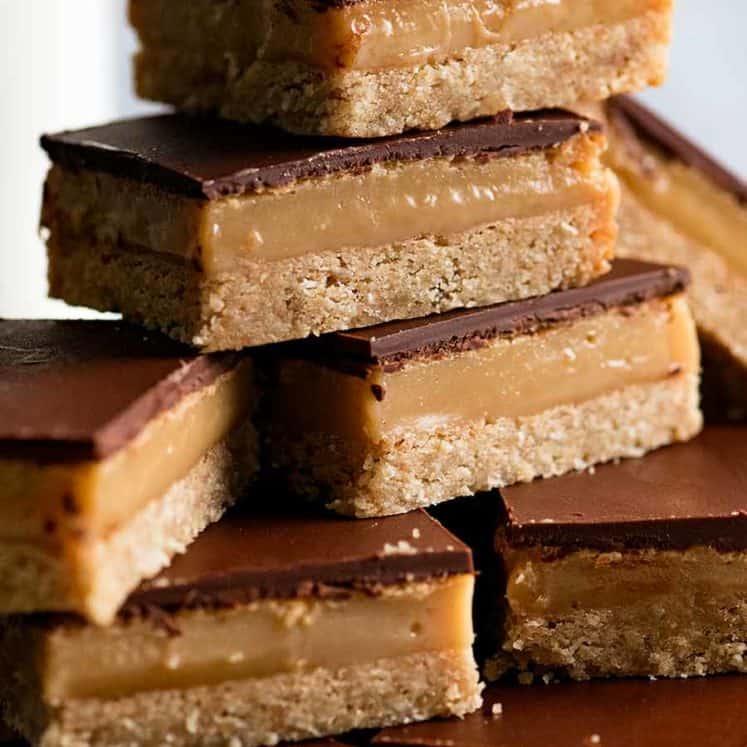
Caramel Slice
Ingredients
Base
- 1 cup flour, plain/all purpose
- 1/2 cup brown sugar , loosely packed
- 1/2 cup desiccated coconut (US: sweetened finely shredded coconut, Note 1)
- 125g / 4.5oz unsalted butter , melted
Caramel filling
- 125g / 4.5oz unsalted butter , roughly chopped
- 1/2 cup (80g) brown sugar , loosely packed
- 395g / 14oz sweetened condensed milk (1 can) (Note 1b)
Chocolate Topping
- 200g / 7oz dark or milk melting chocolate (US: semi-sweet chocolate chips)
- 1 tbsp vegetable oil
Instructions
Base
-
Preheat oven to 180°C/350°F (fan 160°C)
-
Grease and line a 28x 18cm (lamington pan) / 7" x 11" rectangle pan with baking/parchment paper (Note 2). Have overhang for ease of removal.
-
Mix together Base ingredients and press into a pan (I use an egg flip)
-
Bake for 15 minutes until the surface is golden. Cool in fridge if you have time (Note 3).
Caramel
-
Lower oven to oven to 160°C/320°F (fan 140°C)
-
Place butter and sugar in pan over medium low heat. When the butter is melted, whisk to combine with sugar, then just leave it until it comes to a simmer.
-
When bubbles appear, add condensed milk. Whisk constantly for 5 minutes (Note 4), until you start getting some big slow bubbles on the base.
-
Once bubbles start appearing, whisk for 1 minute, then pour onto Base. Tilt pan to spread evenly.
-
Bake for 12 minutes. Don't worry if you get splotchy brown bits (this happens with ovens that don't distribute heat evenly).
-
Cool on counter for 20 minutes then refrigerate 30 minutes - bottom of pan should be warm but surface cool (not cold) to touch. (Note 5)
Chocolate
-
Place chocolate and oil in a microwave proof bowl. Microwave in 30 second bursts, stirring in between, until chocolate is fully melted (takes me 4 x 30 sec).
-
Pour over caramel, spread with spatula. Then gently shake pan to make the surface completely fat.
-
Refrigerate 1 hour or until set. Remove from fridge and leave out for 5 minutes to take chill out of chocolate slightly. Then cut into bars or squares to serve!
Notes
 )
5. Smooth chocolate - The refrigeration times is such that the caramel is mostly set, cool but not cold. That way the chocolate doesn't set too quickly when you pour it on, so when you shake the pan it will spread out evenly.
If you want to make a textured top like the ones in this photo, refrigerate the caramel until fridge-cold - 1 hr+ in the fridge. When the chocolate is poured on, it will firm up faster. As it starts to thicken, use a spatula or knife back and forth across the surface.
6. To slice neatly, remove from the fridge 5 minutes before cutting. Run knife under warm (not hot) water, wipe dry then cut quickly. For very neat slices, clean knife between each cut - I did this for the photos. Don't make the knife too hot otherwise the chocolate melts when you cut it and smears into the caramel.
7. STORAGE: Airtight container for up to 5 days, but if it's so hot that the chocolate melts, keep it in the fridge and bring to room temperature before serving.
8. COCONUT FREE BASE: A few readers have asked if it is possible to make the base without coconut. This recipe won't work without coconut but the shortbread base in my Lemon Bars recipe is a perfect substitute. Please DOUBLE the recipe.
9. Nutrition - ignore it. You can eat salads all next week!!
Nutrition
Originally published 2016, updated with brand new photos and brand new video in March 2020.
For Caramel Monsters
- Salted Caramel Tart
- Peanut Butter Caramel Tart – dangerously easy
- Salted Caramel Stuffed Brownies
- Sweetened Condensed Milk Caramel – just place a can of condensed milk in the slow cooker!
More slices and bars
- Brownies!! Also outrageous Nutella Stuffed Brownies!
- No Bake Chocolate Peanut Butter Bars
- Strawberry Bars – made with tons of FRESH strawberries!
- Easiest Ever Raspberries Jam Bars
- Easy Lemon Bars
Life of Dozer
Dozer in his swanky bathrobe. On a scale of 1 to 10, how ridiculous do you think he looks in his bath robe??? 
(And on a scale of 1 to 10, how much do you want to see me in my matching robe?!  It was a GIFT!! I would never!!)

The post Caramel Slice appeared first on RecipeTin Eats.
