
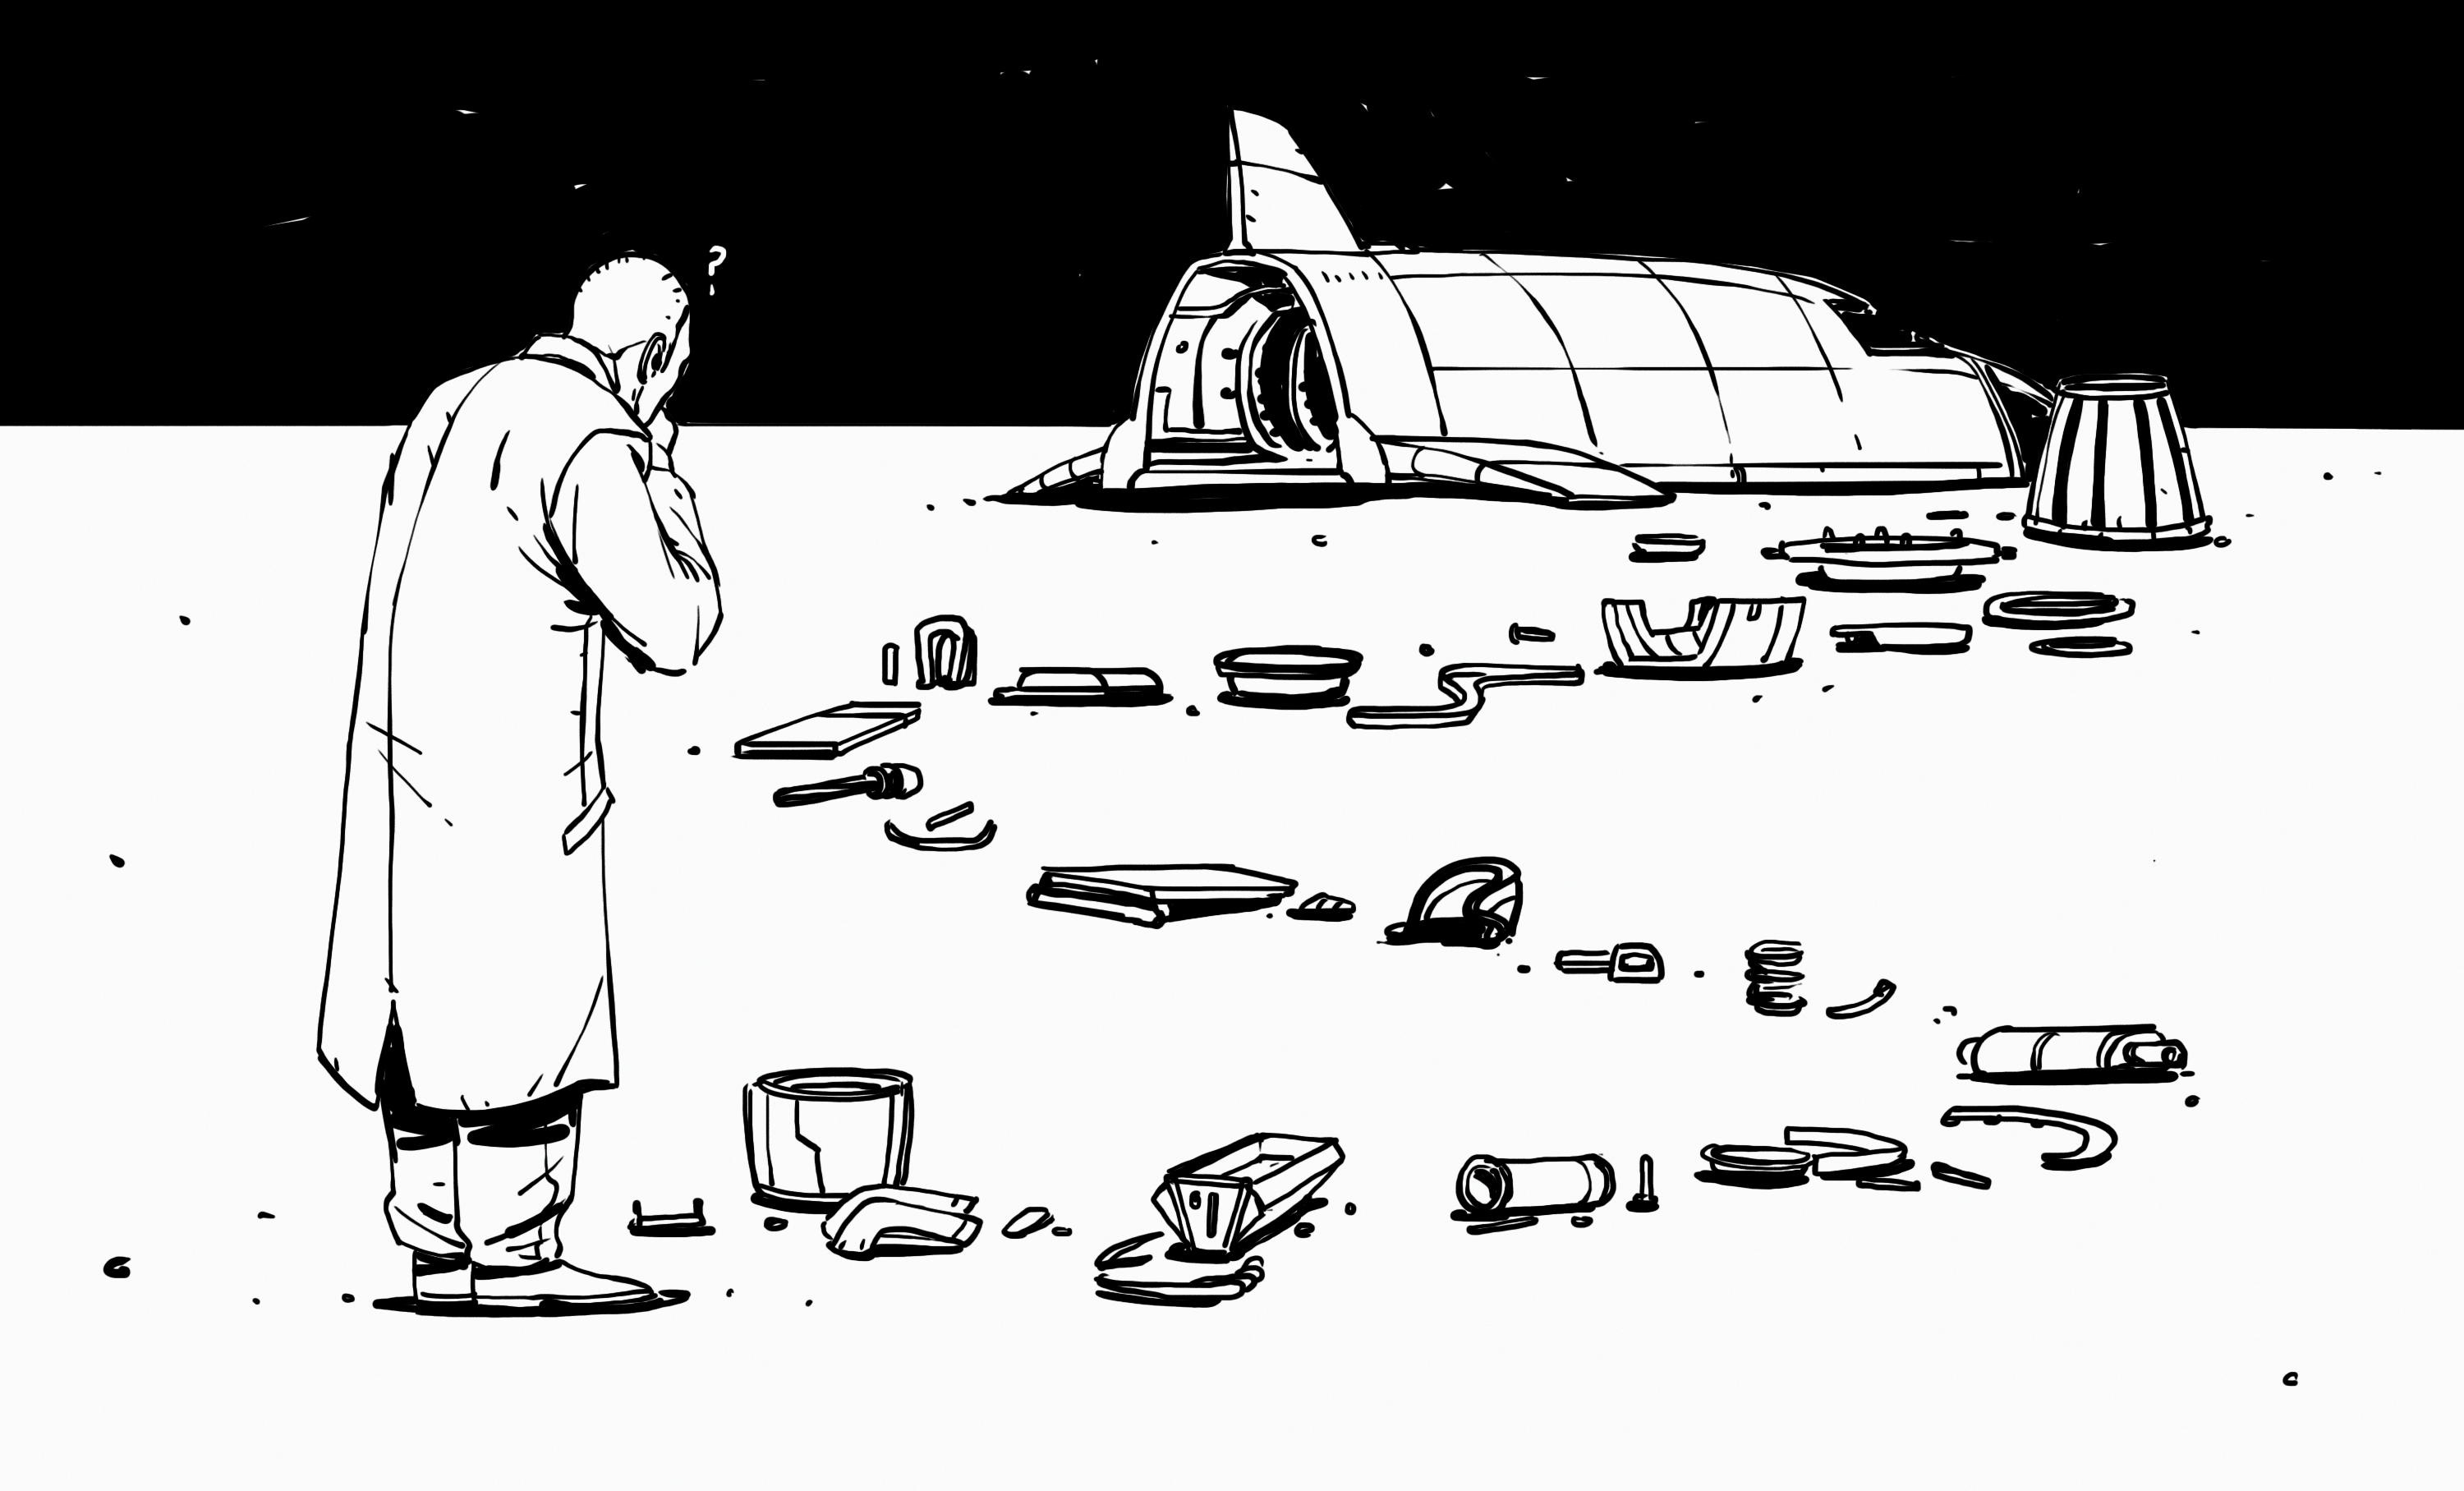
We’ve all experienced that magic moment when, after countless frustrating hours of experimentation and racking your brain, the object of our attention starts working. The 3D printer finally produces good output. The hacked up laptop finally boots. The car engine finally purrs. The question is, do we know why it started working?
This is more important than you might think. Knowing the answer lets you confirm that the core problem was solved, otherwise you may have just fixed a symptom. And lack of understanding means fixing one problem may just create another.
The solution is to adopt a methodical troubleshooting method. We’re talking about a structured problem solving technique that when used properly can help us solve a problem at its core without leaving any loose ends. Such methodology will also leave you knowing why any solution did or didn’t work in the end, and will give you reproducible results.
Understanding The Product or Process

It is not reasonable to expect that we can effectively repair anything we do not understand. For example, if a car isn’t running quite right, it’ll be pointless to attempt a fix if you don’t know the basics about ignition timing, fuel delivery, how the engine functions at least on a basic level.
If you’re trying to build something from scratch or do a significant modification on an existing product, then a solid understanding of what the end product should look like will be needed. If you’re not up to speed on these things, it might be time to do a deep dive, going down the rabbit hole as they say, on the subject at hand.
Wikipedia, technical articles, forums, social media communities (groups.io, facebook groups, reddit, etc), and of course Hackaday are all possible resources for learning. Once you understand how any system is supposed to work, then you can begin the next step of troubleshooting: The process of elimination.
Process Of Elimination
Now that you’re as expert as you’re going to be on your subject of choice, it’s time to dive in and see what’s wrong. Armed with our clear vision of what a successful process looks like and the process of elimination, we’re going to investigate. Yep, we’re going full Sherlock Holmes! If you grew up playing a certain trademarked and copyrighted board game, then you’ll have a clue how this works.
The goal is simple: Identify all the steps that make up a successful process, and then check them one by one, starting with the first step — even if (especially if!) you think you know where the problem already is. One step at a time. Not multiples, and definitely not all of them. No skipping ahead. Just one. And then, after you check on just one of the items at a time, you make a note: Did it solve the problem? Yes? No? Not sure? That’s fine.
At each stage, record your results and then move on to the next item on your list. Recording the results is vital to the process. And sometimes we don’t have all the facts until later in the investigation. So being able to review notes will help us spot trends we’d never have noticed otherwise.
Even if you think you solved the problem, keep going through your list. Go through the entire system to make sure that the whole thing works the way it should. Troubleshooting is incomplete if you only look at a portion of the process.
In more complex systems, a tiered approach will be very useful. Start with a high level overview of the system at hand. Step through the process until you find something broken. Once you isolate the problem area, restart the troubleshooting process in that problem area, making notes as you go. If you do fix a problem, then go back up to the first tier of troubleshooting and continue until the process is completed. This will help you answer the next question.
Is It Really Fixed?
If you’ve identified and solved what you believe to be the core problem, then it’s time to verify that the fix is effective. The best way to do this is to put your item or process under test in the same way that it’ll be used. Sometimes this is simple: The Thing works, and it’s fixed; there’s very little in between to be had. Other times, more extensive testing is needed. Imagine fixing a car that won’t start, handing the keys to its owner, and then finding out the hard way that it also had no brakes!
So it may be that you need to go for a ‘test drive’ so to speak. The goal should be to verify that you didn’t solve one problem but create two more and that the entire system works as designed.
When Good Troubleshooting Goes Bad
Just like any method or process, it’s quite possible to think we’ve got it right when we don’t. Troubleshooting is no different. If we skip ahead in the process at all or don’t take notes along the way, it’ll be pretty easy to miss the problem. Similarly, if we don’t fully understand the subject, we might not be able to identify when something doesn’t look quite right.
 On the other hand, maybe we’re taking a project over from somebody else and they’ve told us what’s wrong with it, but admit that they don’t know how to fix it. This raises a thorny question: If they don’t know how to fix it, then how can they be sure what’s wrong with it to begin with? Take the incoming info with a grain of salt and verify for yourself what the problem is before you start looking for a solution.
When I was young, I heard the woes of backyard mechanics who lamented that they’d replaced hundreds of dollars worth of parts, but the issue they were experiencing went unsolved. I distinctly recall them blaming the fancy new “electronic stuff” (fuel injection) for their problems.The reality is that they didn’t understand the system they were working with and therefore could not troubleshoot it effectively, and so they stopped analyzing the problem and just reacted to it by throwing parts at it until something hopefully worked. And this is another way to fail at the troubleshooting process.
Alternatives to Troubleshooting
There are some instances when the exact troubleshooting process can be overkill. To lean on the car analogy again, imagine that you have an older fuel injected vehicle that isn’t running right. It may be that due to the age of the overall system, no single thing will really solve the problem. Years of crud, poor connections, and worn out parts all contribute to a vague problem that is difficult to reproduce. Furthermore we don’t know when the system was last serviced. In such cases, taking the shotgun approach may be needed. And no, I’m not talking about taking it out back and shooting it!
The aforementioned troubleshooting method could be described like a high precision rifle: We aim carefully and apply a fix. The shotgun method is the exact opposite: We aim in the general direction of the problem and fire multiple projectiles, hoping that one of them hits their mark and solves the problem.
In our ailing EFI example, it might not be unreasonable to replace all of the sensors and any broken connectors. This would be followed by rebuilding the mechanical portion such as the throttle body. Even replacing fuel pumps, filters, and cleaning the fuel delivery system with a fuel additive can be helpful. And then once the system has been brought back to a known state, it can be tested and any remaining faults can be scrutinized using the proper troubleshooting technique.
Another use case for the shotgun approach is when we have a time sensitive issue that needs to be fixed. The root problem may have only a few known causes, so applying all of the fixes at once may be faster in some cases. For example we might not have time to properly troubleshoot a mission critical server with an unknown hardware problem. Swapping the storage system into a new computer will get it back online quickly, and then the previous hardware can be subjected to testing without such time constraints.
No matter the case though, having a solid understanding of the system you’re working on will help you to take the correct approach to solving the problem.
A Noteworthy Note
You might have noticed that the troubleshooting methods discussed are mighty similar to the scientific method that at the very least, most of us learned in school. And that’s why taking notes is so important.
Adam Savage famously quipped “Remember kids, the only difference between screwing around and science is writing it down!” (This was later attributed to Alex Jason.) And that’s really the point here: Writing things down, making notes about things whether they work or not is a vitally important part of this entire process. Otherwise, we’re just blindly stabbing into the darkness.
I hope that this foray into fixing fiddly things has been useful for you. Do you have your own troubleshooting story, method, or “Aha!” moment to share? Be sure to let us know in the comments below!